Attaching the HoldMaster Sensor
Every HoldMaster must be secured to the rifle or pistol in a specific orientation.
If the HoldMaster is NOT placed in the correct orientation, then the data analysis will be invalid.
While the attachment may be attached slightly differently from session to session, it is vital that the HoldMaster is attached so it does NOT change position during a session.
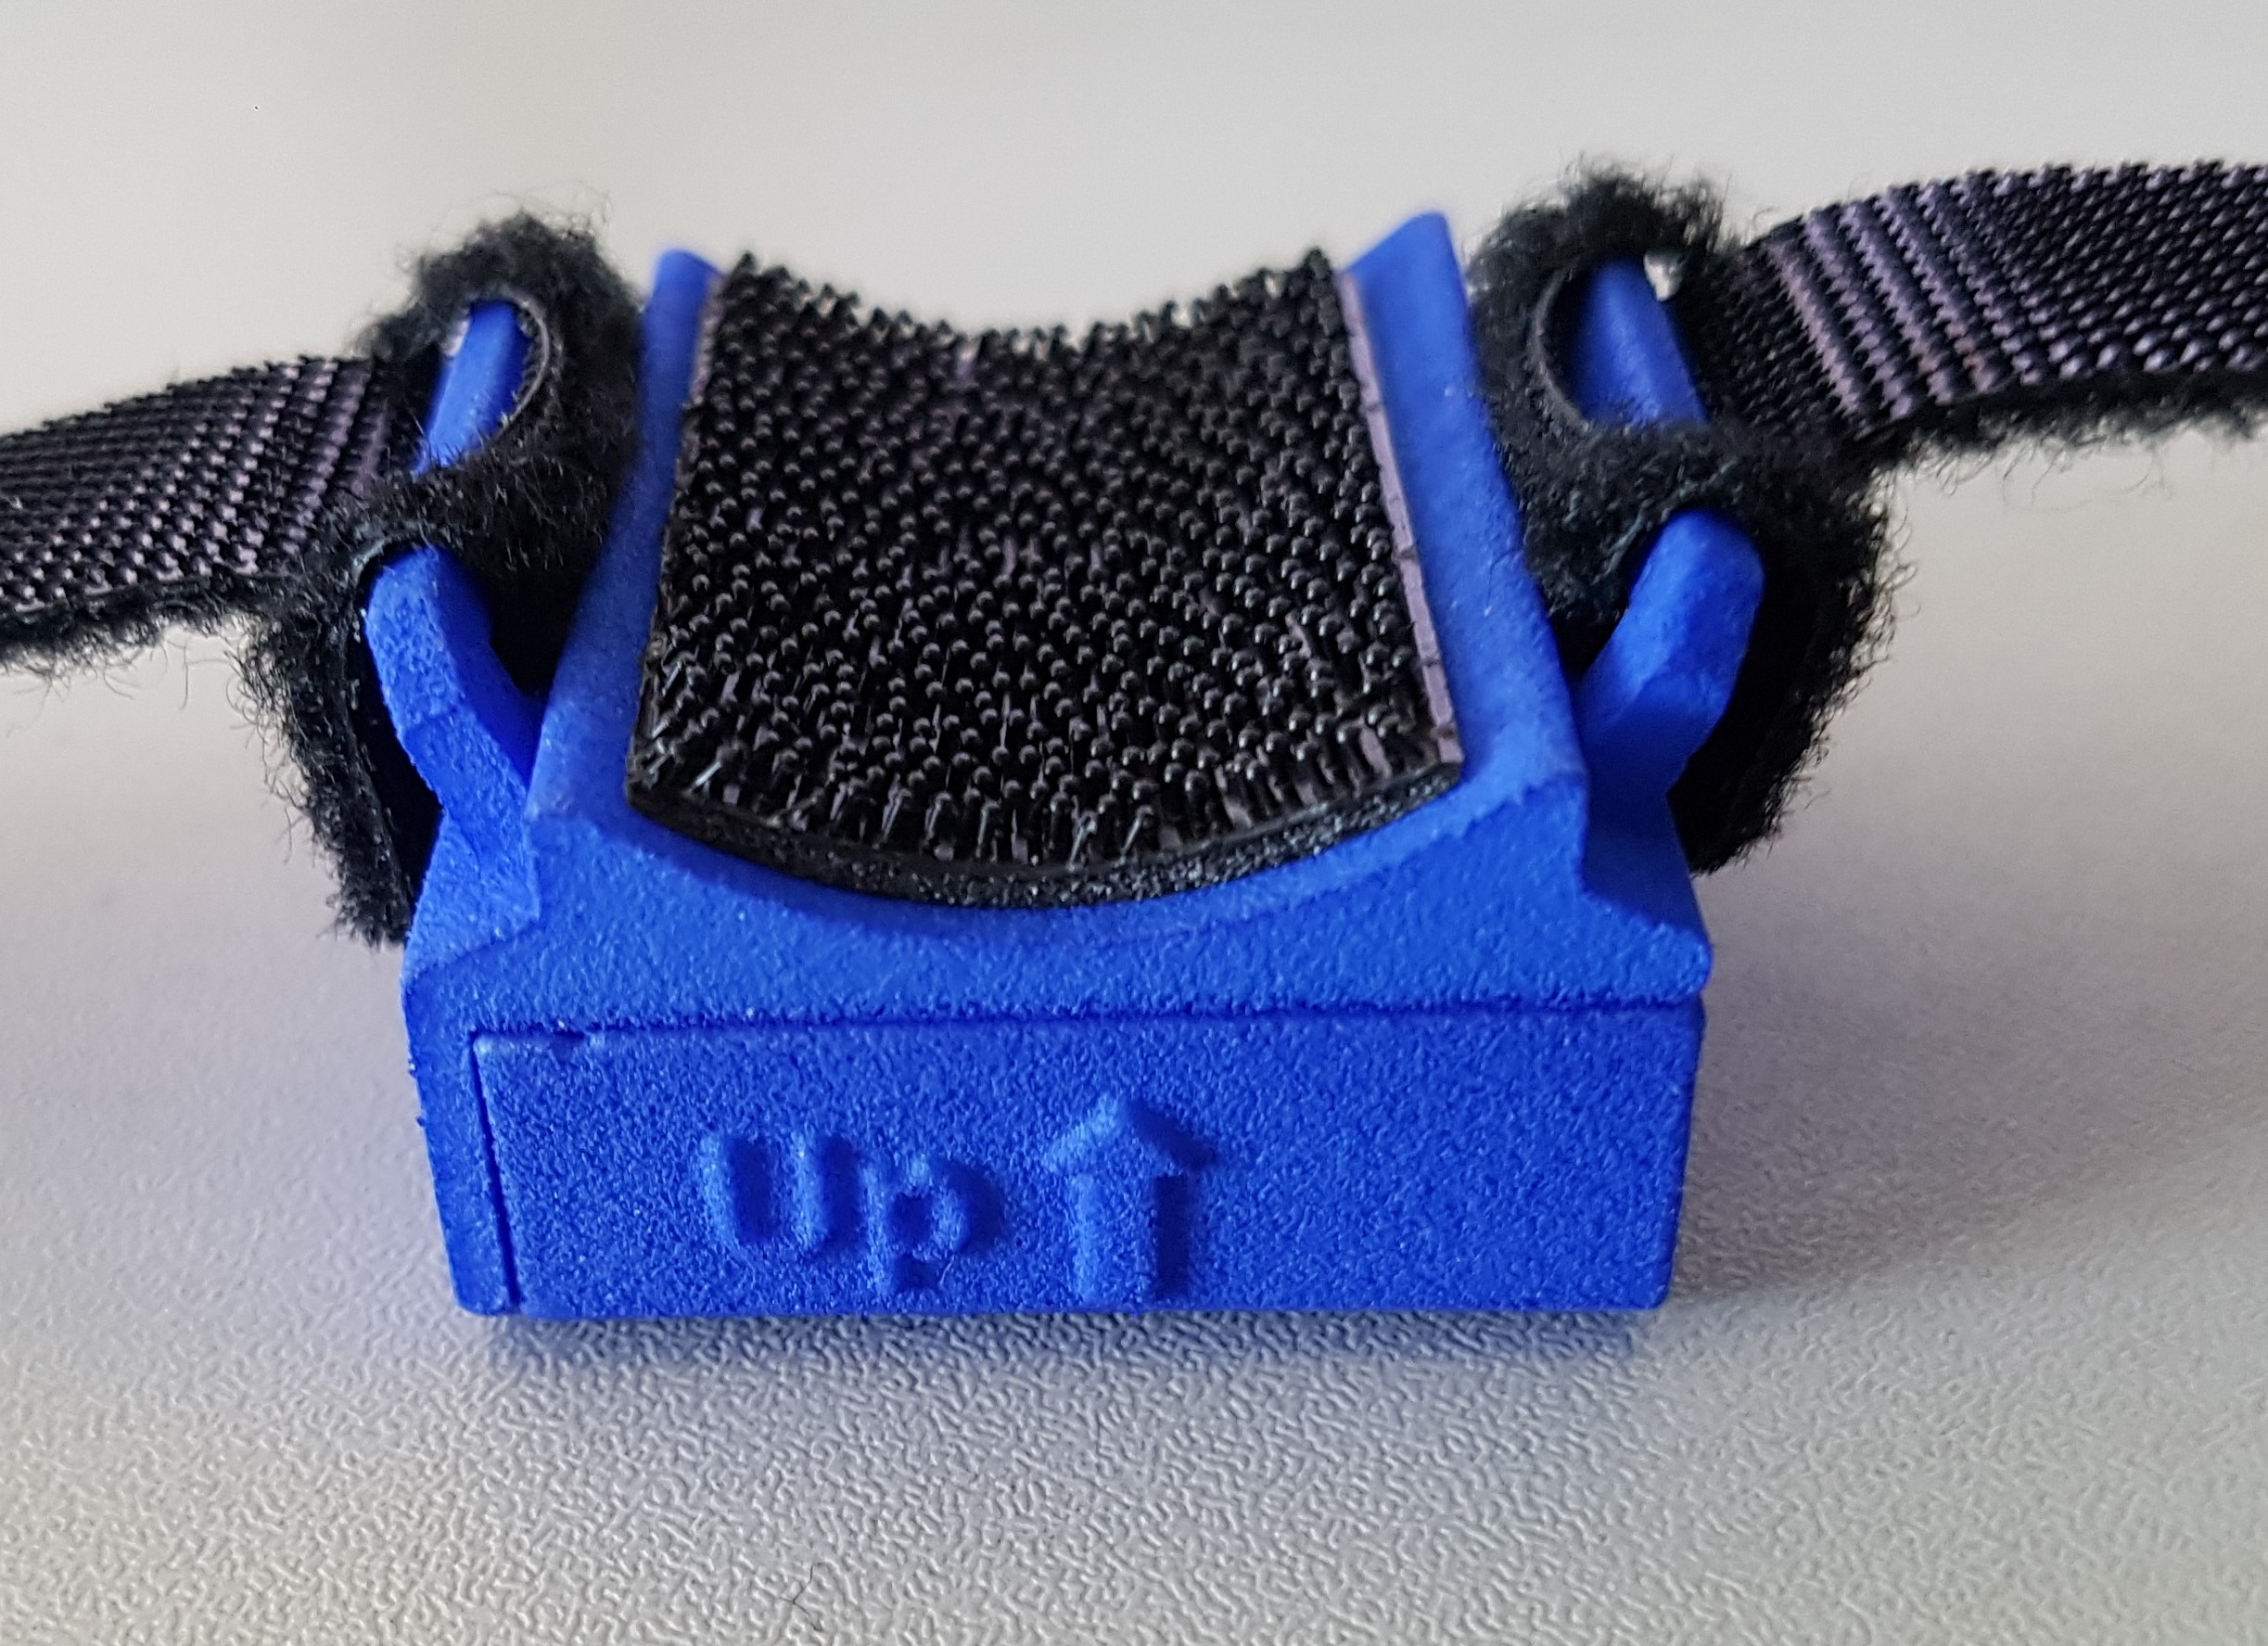
Each HoldMaster case is clearly marked to indicate the direction to the target and the vertical direction for the sensor.
With the HoldMaster, the left image indicates the Up direction, while the next image shows the direction of the target.
For the secondary HoldMaster, the image indicates the direction to the target and the Vertical direction as they may be positioned on the right or left side.
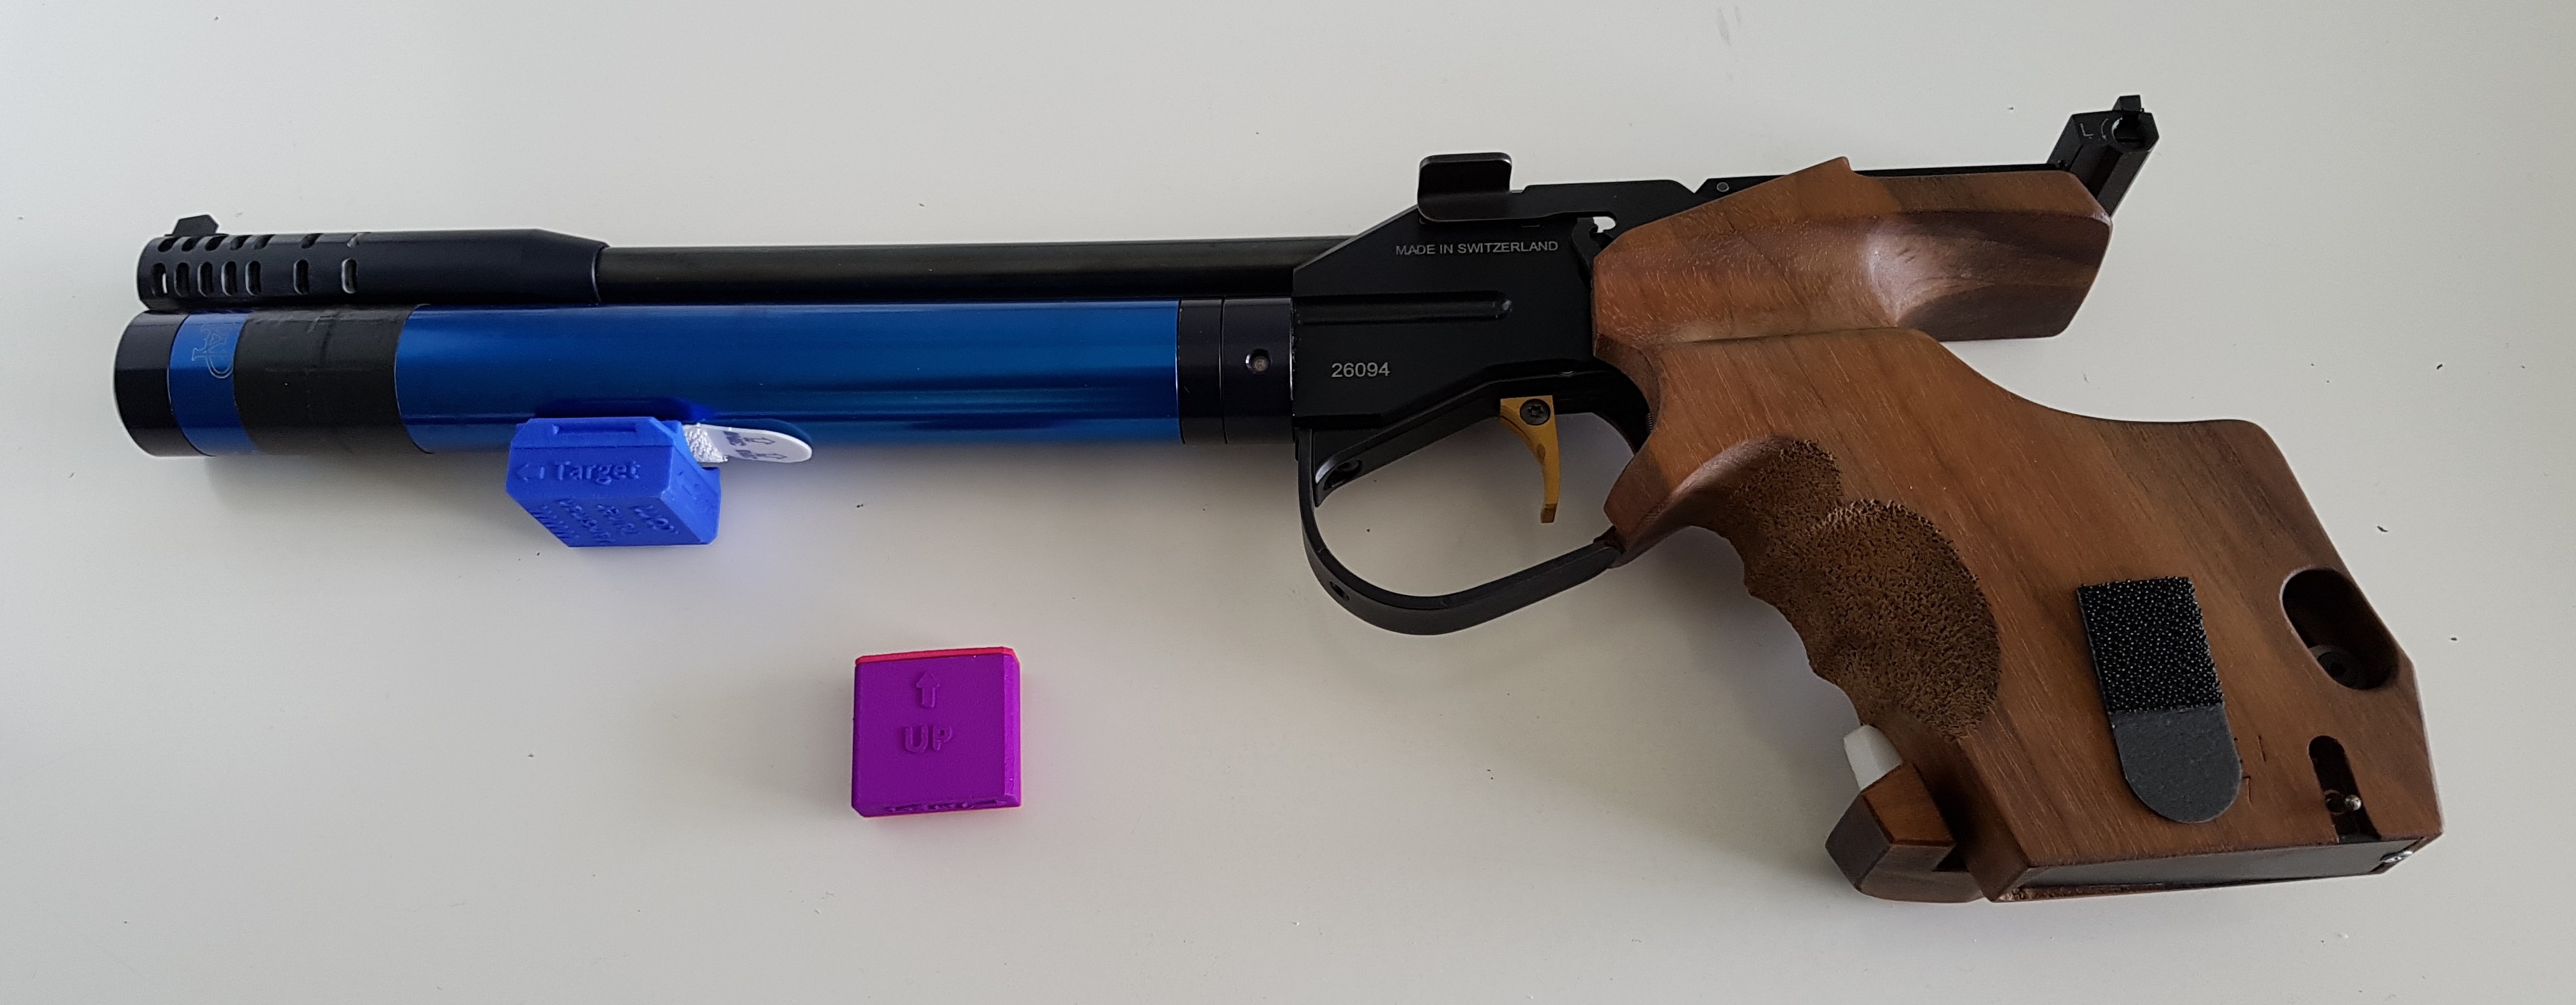
The rightmost images show the HoldMaster in the correct orientation, immediately under the barrel of a rifle, near the muzzle.
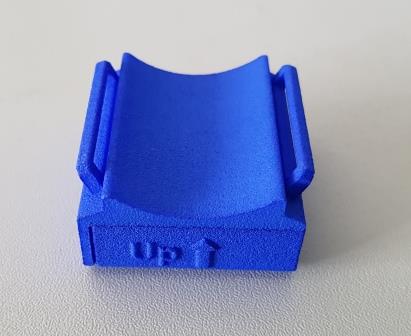
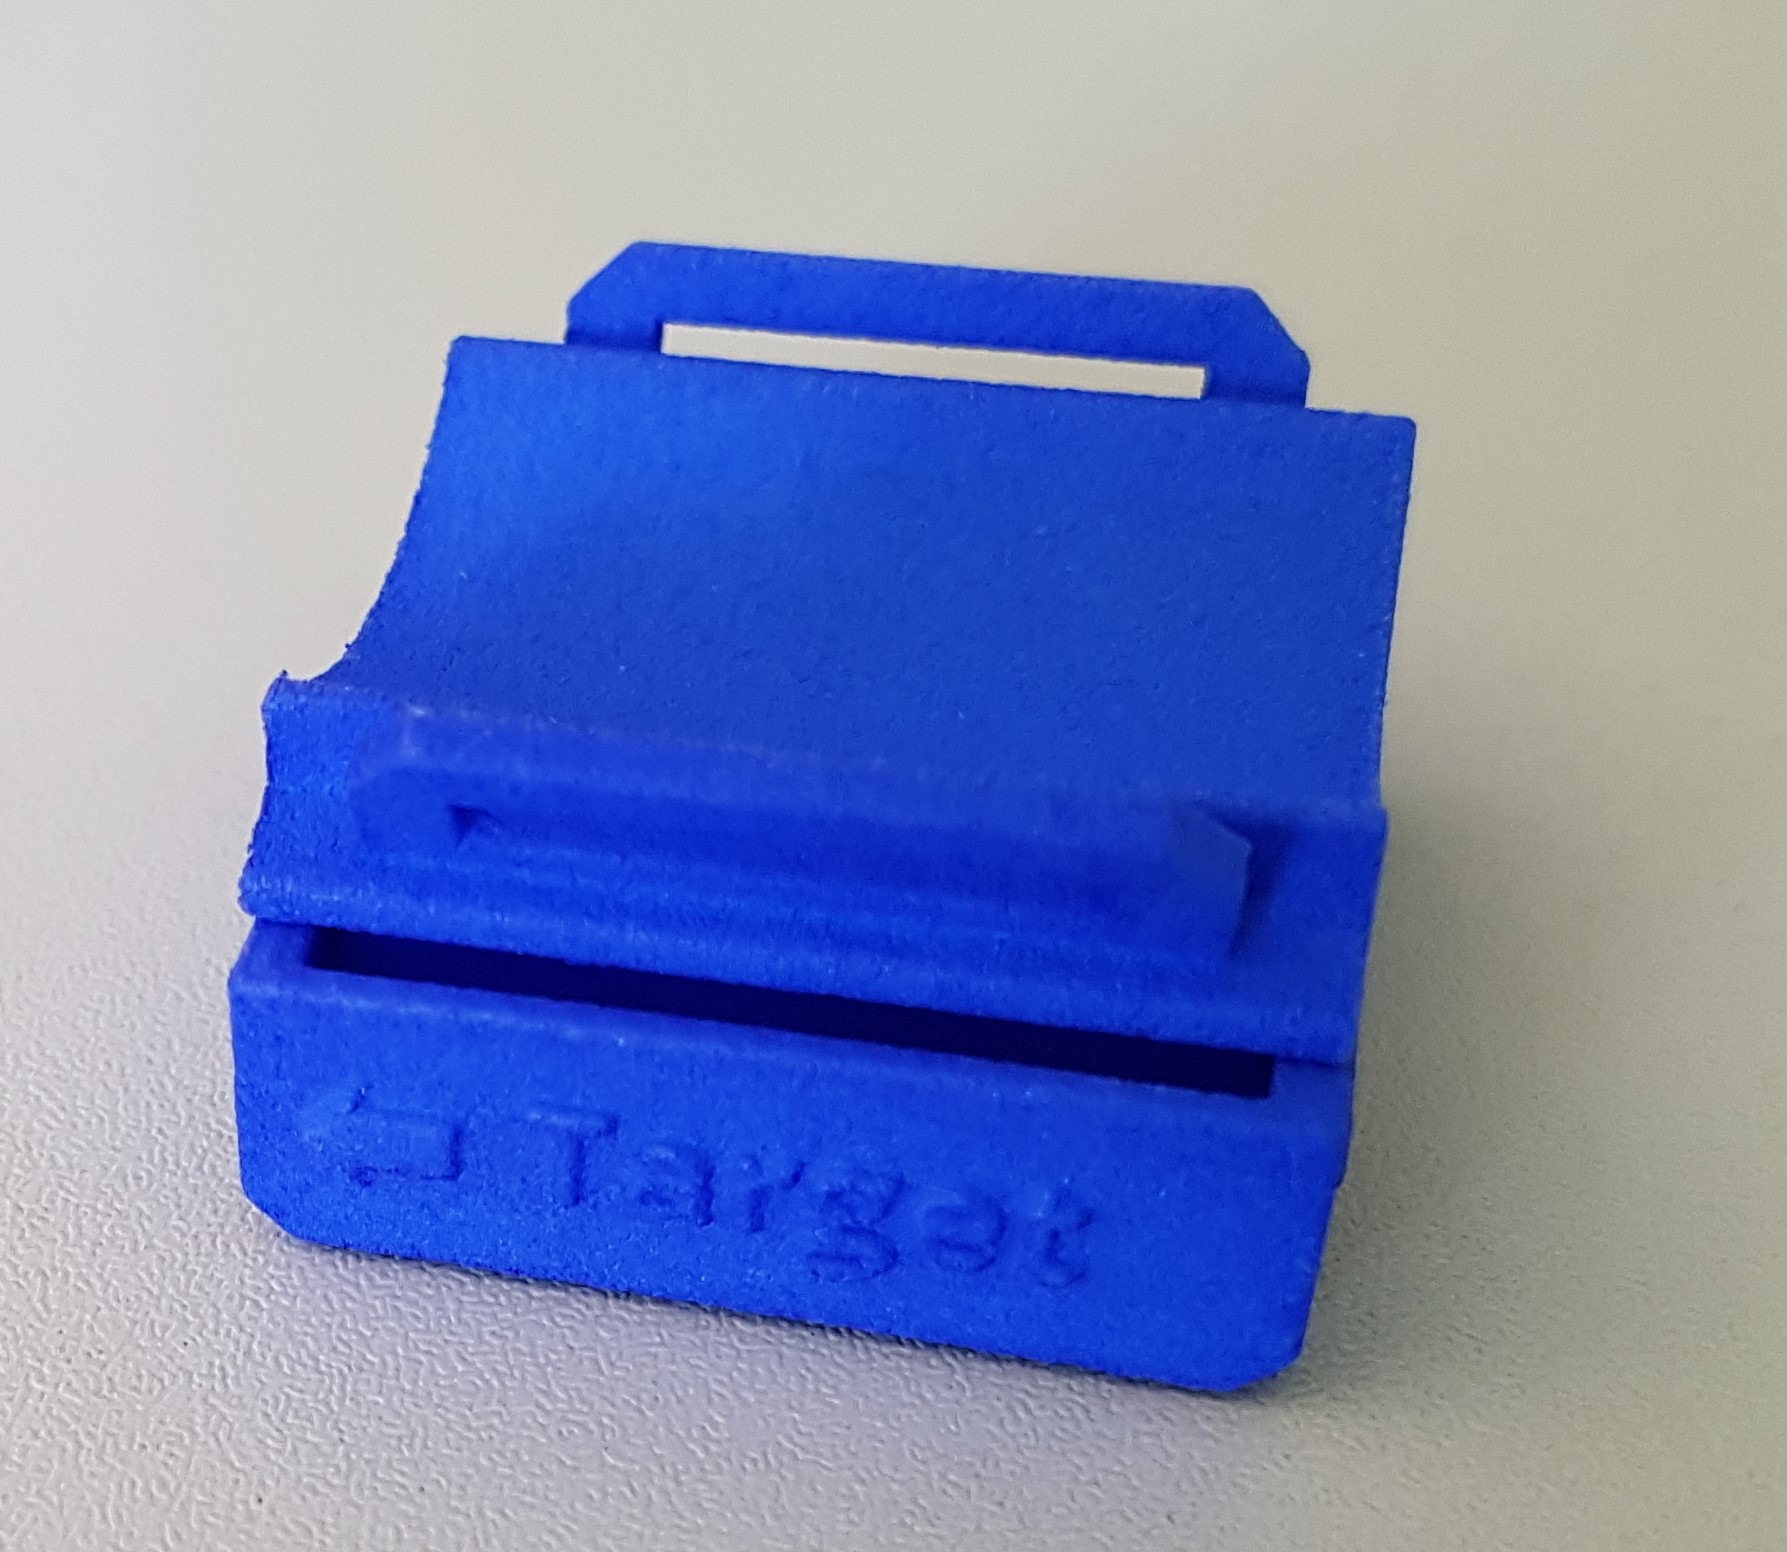
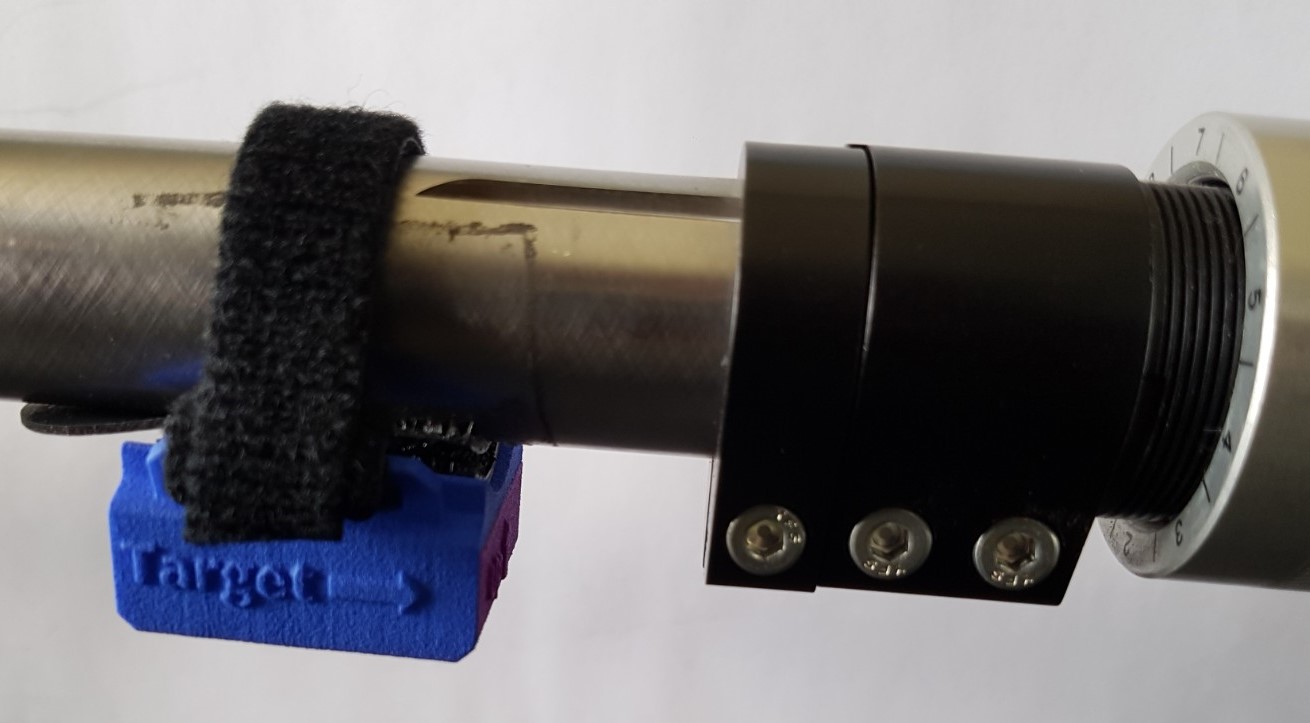
The HoldMaster is delivered in its bare case with the Velcro tabs, Velcro straps and rubber pads included in the box.
The shooter then needs to decide on the most appropriate method of attaching the sensor, by reviewing the options below.
For high calibre weapons, a more secure method is likely to be required.
The HoldMaster is typically attached by a Velcro tab, or a Velcro tab with Velcro straps to secure it to the rifle or pistol.
Please trim the straps to suit. Note that these tabs are removable, if required.
In the air pistol picture, the blue primary HoldMaster is attached just using the Velcro tabs.
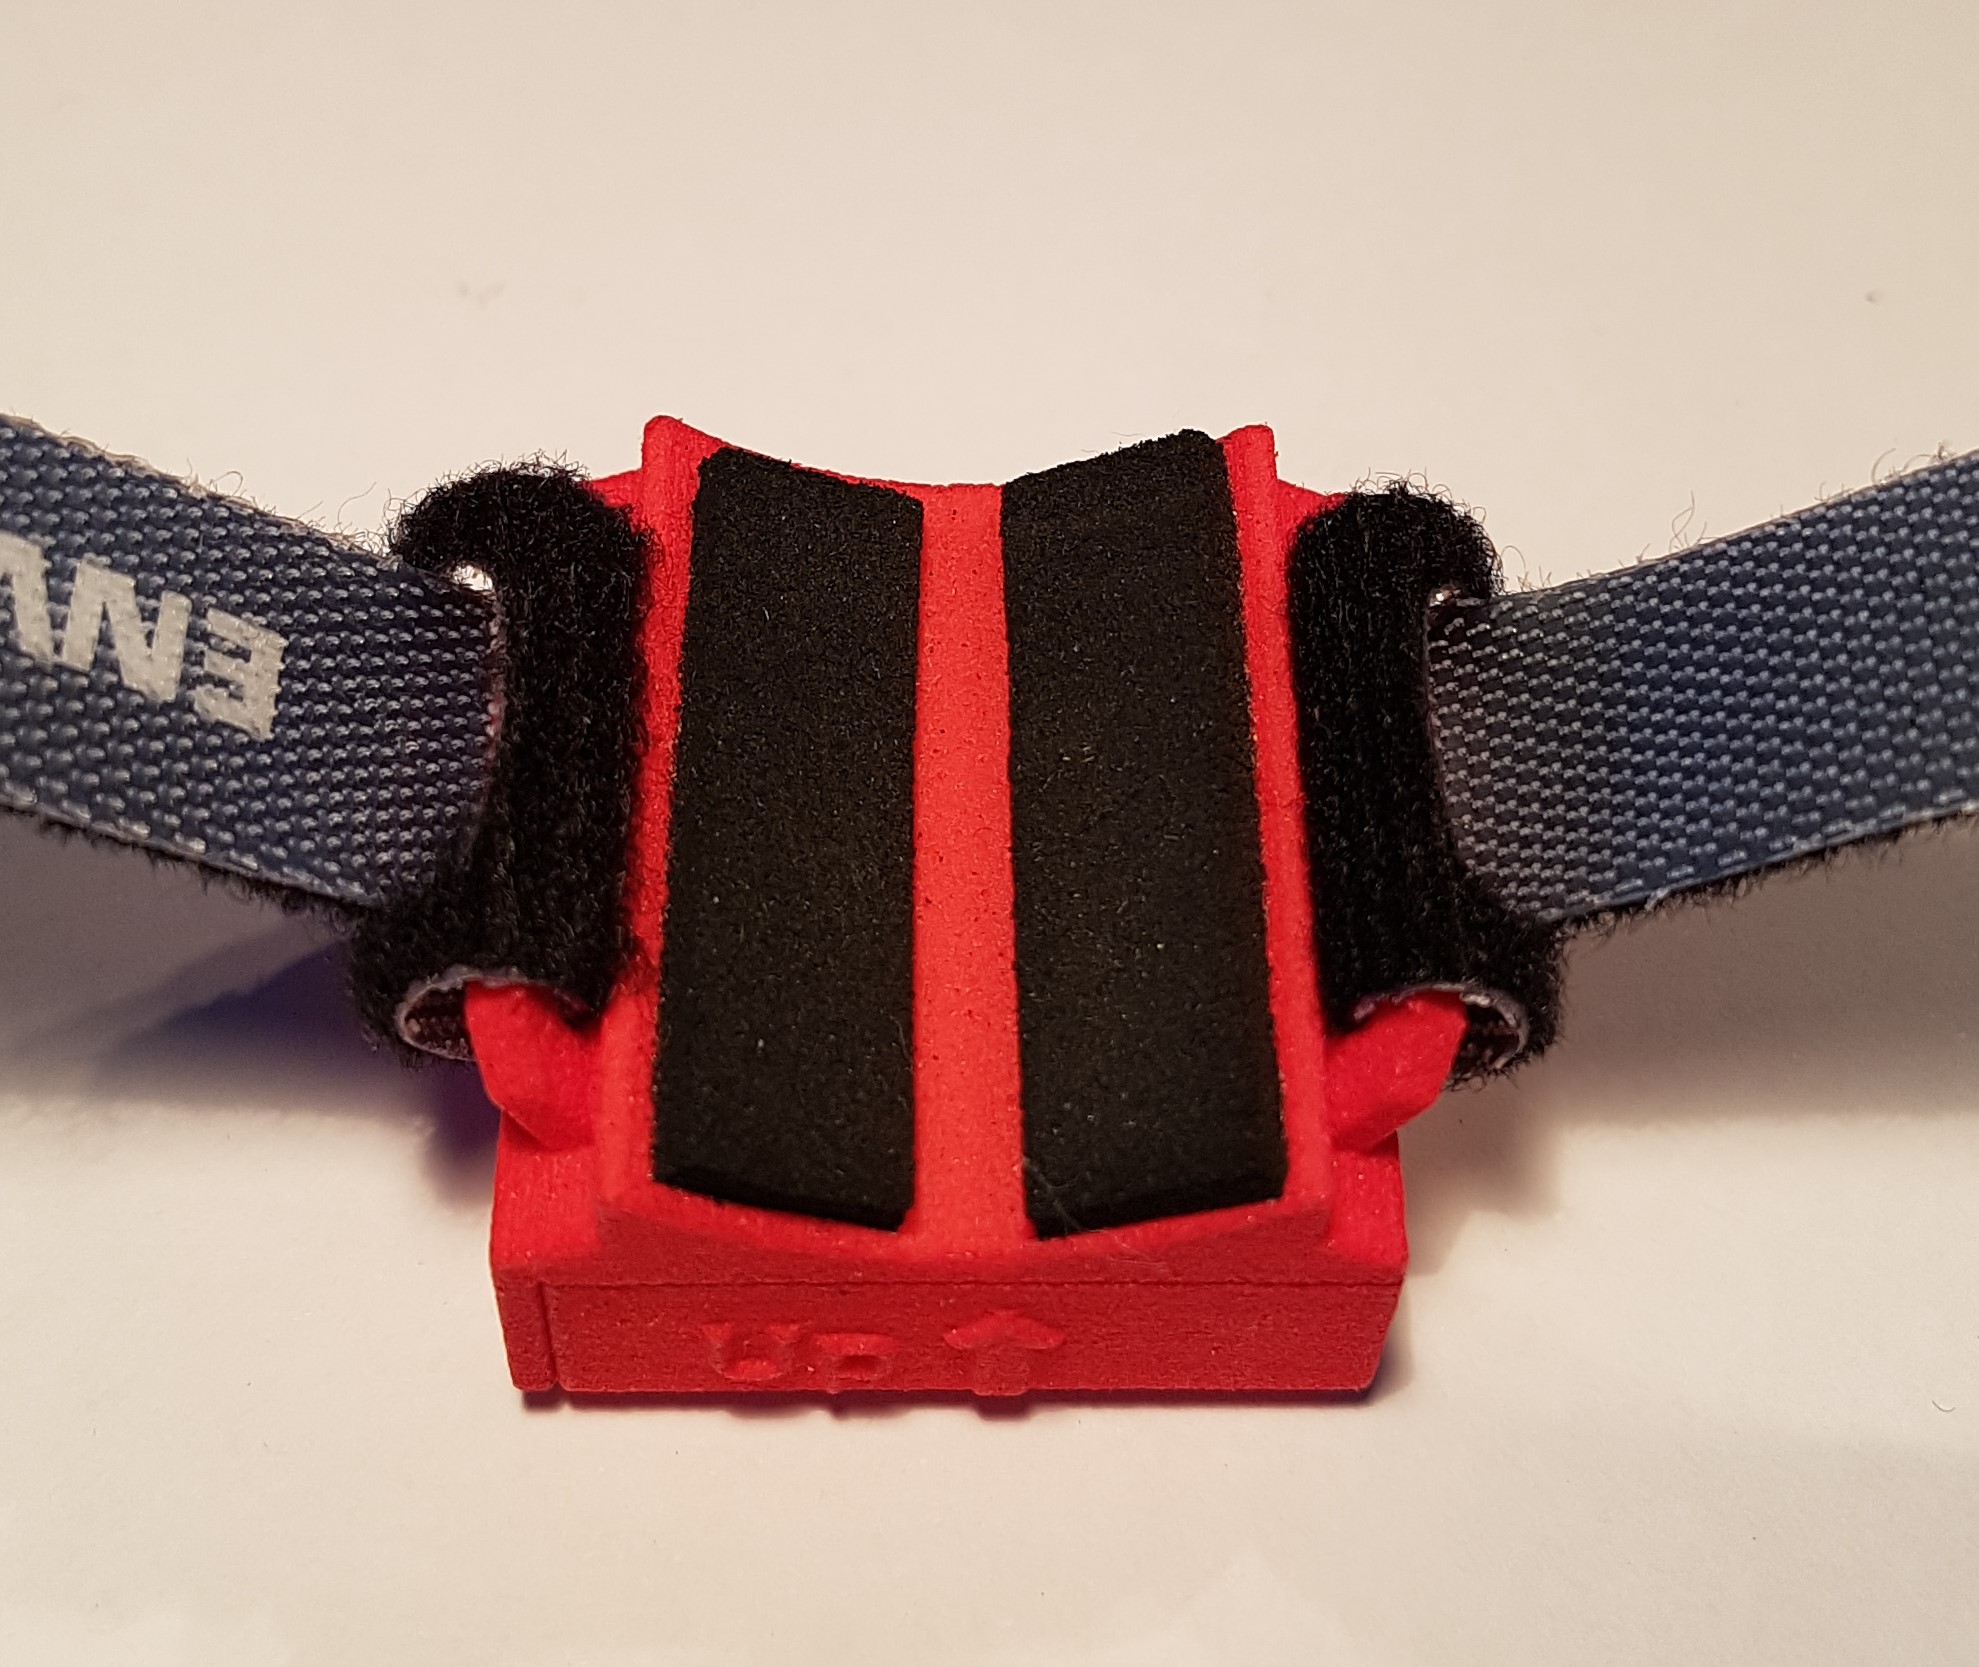
Alternatively, the HoldMaster may have two rubber pads stuck onto the case, combined with the Velcro straps that to secure it to the rifle or pistol.
Ensure the straps are tight around the barrel so there is no movement. This works well if you use the same HoldMaster on multiple firearms.
